Ultimate Kitchen Deep Clean Guide
Posted on 01/10/2025
Ultimate Kitchen Deep Clean Guide
Keeping your kitchen spotless is no easy feat, especially if you're handling the daily rigors of cooking and meal prepping. However, a deep clean can make your kitchen look and feel brand-new. This Ultimate Kitchen Deep Clean Guide will take you through a comprehensive step-by-step process to ensure every nook and cranny is spotless.
Why Deep Clean?
Regular cleaning is great for maintaining a tidy space, but a deep clean tackles elements not covered during your routine cleaning sessions. A thorough deep clean removes dirt, grease, and food residues hidden in cabinets, under appliances, and in other hidden areas.
Essential Supplies
- Microfiber cloths
- Scrub brushes
- Dish soap and degreaser
- White vinegar and baking soda
- Rubber gloves
- Vacuum cleaner with attachments
- Mop and bucket
Step-by-Step Cleaning Process
Step 1: Declutter and Organize
Begin by removing all items from countertops, cabinets, and appliances. Dispose of expired food items and sort through your utensils and kitchenware. This will make the deep cleaning process more manageable and effective.
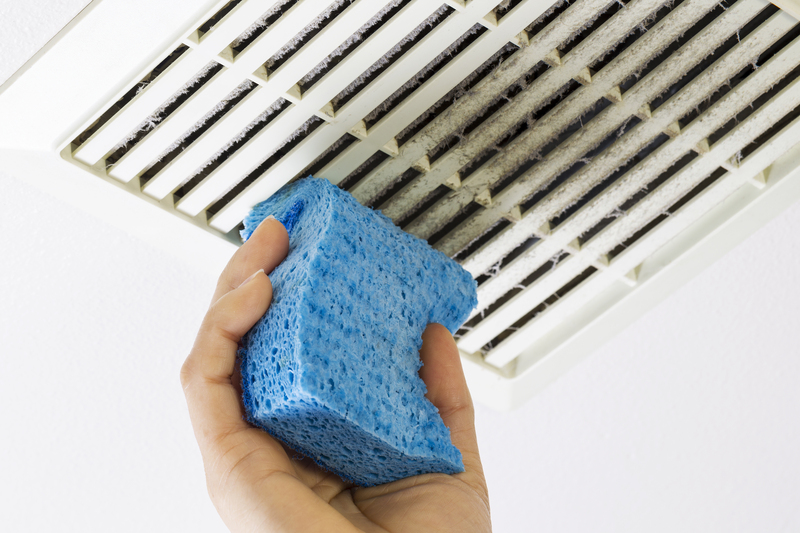
Step 2: Clean the Appliances
Wipe down all appliances including the refrigerator, oven, and microwave. Use a mixture of white vinegar and baking soda for tough stains and grease. For the refrigerator, remove all shelves and drawers, and clean them thoroughly.
Step 3: Clean Cabinets and Drawers
Empty each cabinet and drawer. Wipe the interiors with a damp cloth and dry them. Use a vacuum to remove dust and debris from hard-to-reach corners. Place liners to protect shelf surfaces from spills.
Step 4: Scrub the Sink and Fixtures
Remove buildup in the sink using a scrub brush and dish soap. Pay special attention to the faucet and drain areas. A mixture of white vinegar and baking soda can help remove stubborn stains.
Step 5: Clean the Countertops
Wipe down all countertops with a disinfectant solution. For granite or marble countertops, use a cleaner specifically designed for those materials to avoid damage.
Step 6: Floors and Baseboards
Lastly, vacuum and mop the floors. Don't forget the baseboards, which often collect dust and grime. Use a microfiber cloth to clean baseboards efficiently.
Tips
- Use baking soda and white vinegar for natural and effective cleaning solutions.
- Clean from top to bottom to prevent re-soiling areas you have already cleaned.
- Don't forget to clean behind and under large appliances.
- Regularly wash cleaning cloths and sponges to avoid spreading bacteria.
Pros and Cons
Pros
- Improves kitchen hygiene and food safety.
- Prolongs the life of kitchen appliances and fixtures.
- Reduces the chances of pest infestations.
- Creates a more pleasant cooking environment.
Cons
- Time-consuming process.
- Requires effort and a range of cleaning supplies.
- Can be physically demanding.

Takeaways
- Plan your cleaning session on a day when you have ample time.
- Use appropriate cleaning solutions for different surfaces.
- Incorporate a regular cleaning routine to make deep cleanings easier.
- Involve family members to speed up the process and make it more enjoyable.
Conclusion
A deep cleaning session is more than just cosmetic; it's about creating a healthy, efficient, and pleasant kitchen environment. While it does require effort, the end result is incredibly rewarding. With this Ultimate Kitchen Deep Clean Guide, you can make sure every part of your kitchen is as clean as can be.
Latest Posts
Using Toothpaste to Keep Your Iron Plate Clean
Cleaning Beverage Spills from Carpets